
How to make a scrunchie with a secret pocket.
No purse? No problem! These DIY scrunchies with hidden pocket are such a lifesavers and perfect for carrying small essentials with you!
Here’s everything you need to know for how to make an invisible pocket scrunchie with AND without a sewing machine.

This post may contain affiliate links, which means if you purchase something through them, I can receive a small commission at no extra cost to you. For more info, please read the full disclaimer here.
What materials do you need to make a scrunchie?
Whether you decide to go the sew or the no-sew route, there’s 2 main ingredients to make any type of scrunchie, and those are: fabric and elastic.
Fabric for scrunchies
What fabric is best for scrunchies?
The best fabrics to make hair scrunchies with a hidden pocket are the ones that won't fray.
My top 3 picks are:
Nylon Spandex Fabric

Ribbed Knit Fabric

Stretch Velvet Fabric

However, if you want to try a different type of fabric that frays (like a cute and shiny silky satin) is best to finish the edges with an overlock stitch to make your scrunchies last longer or at least cut the fabric using zig zag scissors.
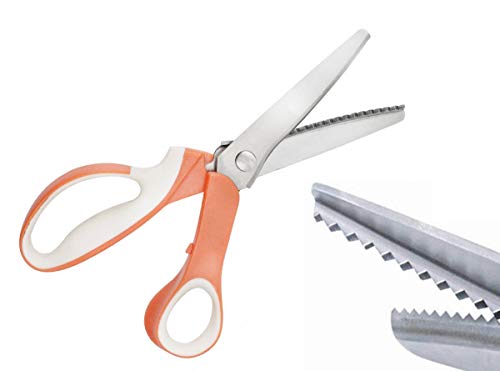
- Fabric Pinking Shears Triangular Lace Tailor Scissors
- Apply for Fabrics, Linings, Paper, and Craft Uses.
- Meterial : ABS handle & Stainless steel
Why?
The secret pocket will give you access to the inside of the scrunchie where the seams are, and constantly putting things in and out from it can cause even more fraying, (read: a hot mess inside that pocket) which will also compromise the longevity of your scrunchie.
#nobueno.
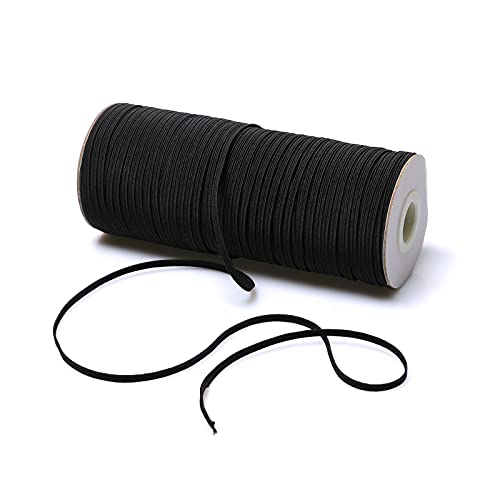
Elastic for scrunchies

- Also read: How to Sew a Face Mask with Filter Pocket -
Materials for scrunchies with zipper pocket (Sewing version)
To make a professional looking scrunchie with a hidden zipper pocket, all you need is:
⬥ Sewing machine
I LOVE Brother sewing machines and have used them for the past 15 years.
⬥ 3 inch Invisible zipper
Or any invisible zipper size longer than that is fine, (you’ll learn how to cut it to the exact measure you need in this post.)

Pro tip: focus on finding an invisible zipper that perfectly matches the color of your fabric. That's what will truly give you the “invisible” effect.
⬥ Fabric Marking Pen
This water soluble marker is the best one I’ve had and it’s super easy to use.
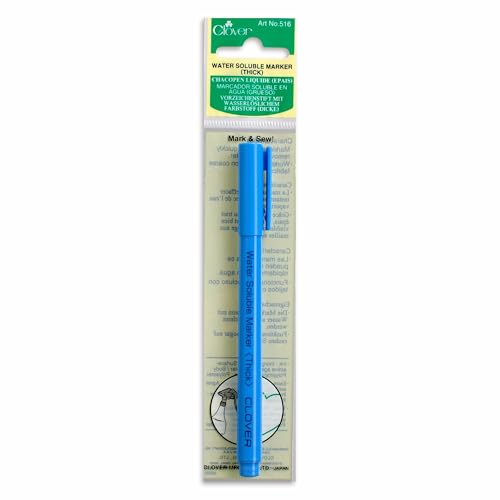
- Quick and easy to erase
- Water soluble marker is quick and easy to use for marking
- Can be easily erased with water or eraser pen
⬥ Invisible zipper and regular zipper presser feet
This is the invisible zipper foot that I own, and comes with different adaptors to fit most sewing machines.
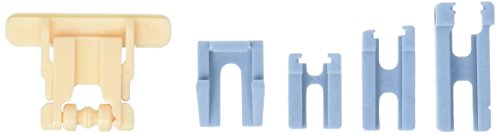
- Master your carft!
The regular zipper foot usually comes with your sewing machine, but in case you don’t have one you can get a brand new presser foot for regular zippers here.
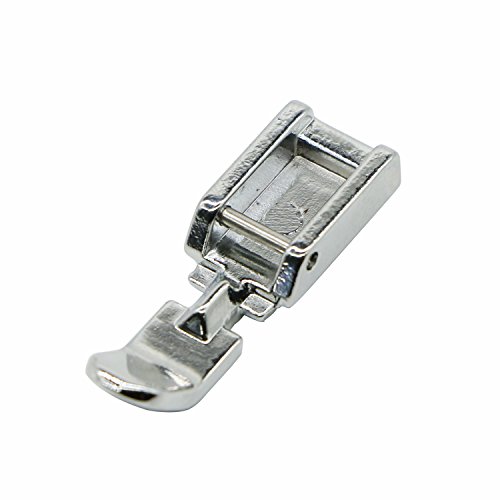
- 100% brand new sturdy narrow clip-on zip zipper presser foot
- Only to snap the zipper presser foot onto the bracket on the machine, so you can use and change any snap-on foot without using a screwdriver
- Simple and practical design, and easy to operate
⬥ Wonder Tape
I'm OBSESSED with this wash away wonder tape! And although it's not 100% necessary, it definitely makes sewing zippers (and a bunch of other projects) a breeze!

- Position appliqués, pockets and zippers; Match plaids
- Hold fabric pieces to paper when foundation piecing
- Completely disappears in first washing
Trust me, if you try it you'll thank me later!
Materials to make invisible pocket scrunchies without sewing
If you don’t have access to a sewing machine, you can still make a bunch of hidden pocket scrunchies!
The supplies you will need are:
⬥ Hook and loop tape
Velcro is the most popular brand for this type of fastener and you can get the slick and thin velcro without adhesive here.
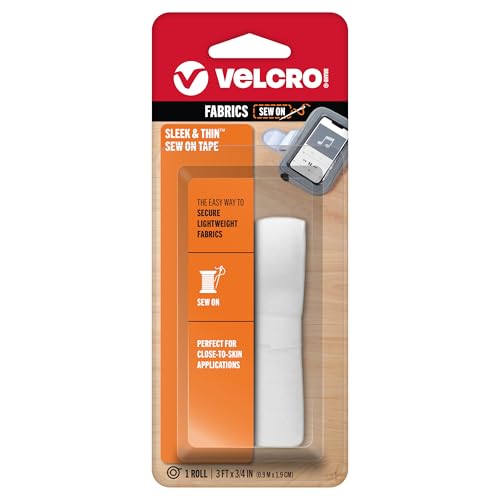
- Sleek and Thin(TM) Sew On Tape is perfect for light weight and delicate fabrics.
- Low profile and truly discrete, Sleek and Thin(TM) fasteners have the strength you expect from VELCRO (R) Brand.
- Soft to the touch, great for close to skin applications.
⬥ Glue
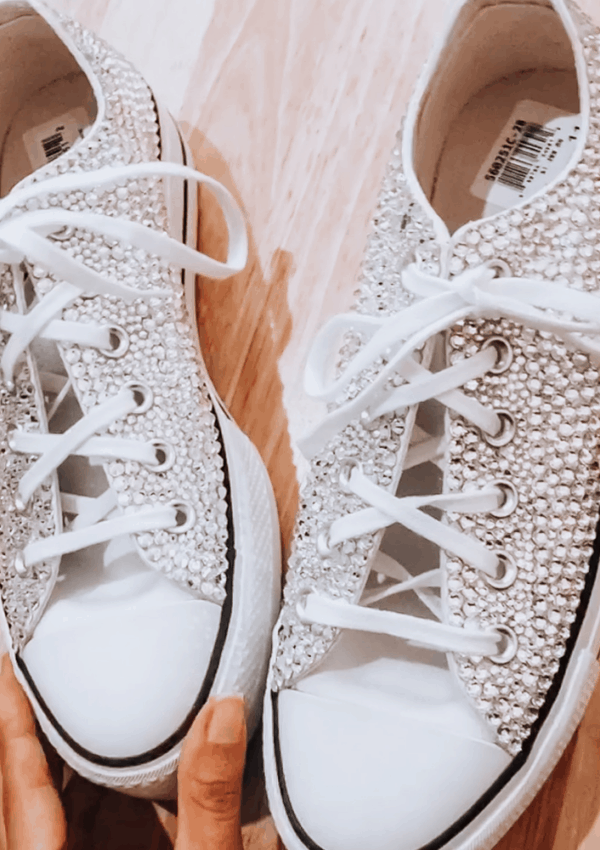
Like e6000, which has industrial strength and I personally love to use a syringe and blunt tips to apply the glue with more precision and less mess.
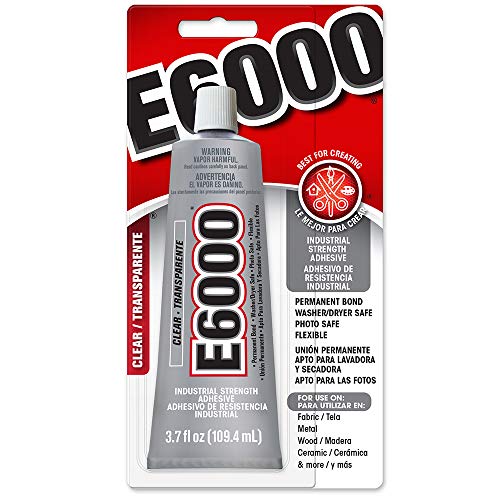
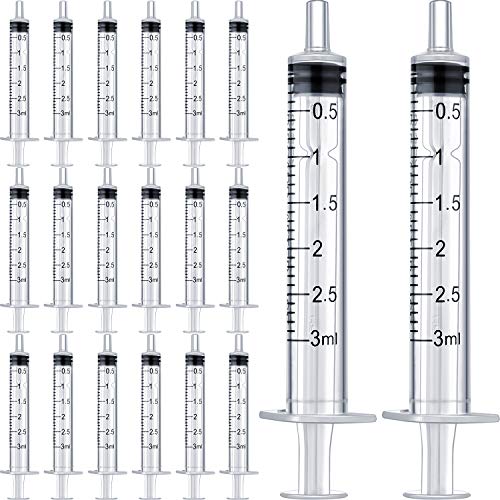
(These are the same ones I used in my how to bling converse tutorial).
⬥ Sewing gauge
This little gadget helps you to measure faster and more accurately, if you haven't tried it yet, go for it!
I actually had one that came in a sewing kit for years, but I thought it was just another ruler and never used it... until recently.
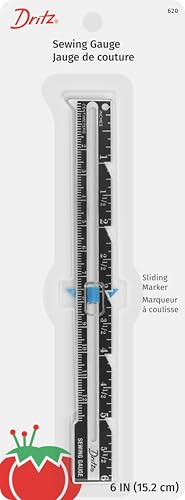
- Keep your work accurate with this versatile gauge
- Sliding measure sets distance for marking hems, tucks, pleats and buttonholes
- Sewing gauge with a sliding marker that will stay in place for repeated marking
Oh boy, was I WRONG! now I cannot work without it and has become one of my besties!
DIY Scrunchie measurements
The scrunchie pattern for this tutorial is pretty much a rectangle that measures 22 ½” by 4 ⅛ “
If you use the metric system, it would be 57 centimeters by 10.5 centimeters.
And looks like this:

How to make a scrunchie with a sewing machine
Ok, time to make the magic happen and bring a DIY scrunchie with zipper pocket to life!
Below you will find a step by step video with a bunch of tips for each part of the process, but in short this is how you make it happen:
Locate the center of your fabric and mark it down.
Place and sew the invisible zipper.
Sew the ends of your fabric together.
Sew the rest of the scrunchie that's still open.
Turn the fabric inside out through the zipper opening and add the elastic.

How to make a scrunchie without a sewing machine
To make a DIY Scrunchie using hook and loop tape instead of an invisible zipper, the process is actually very similar:
Locate the center of your fabric and mark it down.
Fold and press down ⅜” or 1cm on each side of the fabric. ( This step is kinda optional but makes the process of glueing easier and the end result more professional.)
Place the hook and loop tape and glue it down.
Glue the ends of your fabric together.
Glue the rest of the scrunchie that’s still open.
Insert the elastic through the velcro tape opening and voila scrunchie ready!

DIY Scrunchie with hidden pocket step by step video tutorial
Here’s a video with all the deets to make each step a success!
If you want to rewatch a certain part of the tutorial or go straight to one of the steps, check out the timestamps below to make it easier for you.
- Also read: How to price your handmade products -
What do you put in a pocket scrunchie?
Whatever you can fit in it!
Think of:
Money
Keys
Lip balm
Earrings or small accessories
Mints or candies
Earphones
Sample size perfume or essential oils (btw how cute are these dropper bottles!?).
Valet parking tickets.
Or even quartz and crystals to keep those vibes high, wherever you go.

Hidden pocket scrunchies are the perfect accessory to wear at festivals, concerts, sport games or even to go for a run.

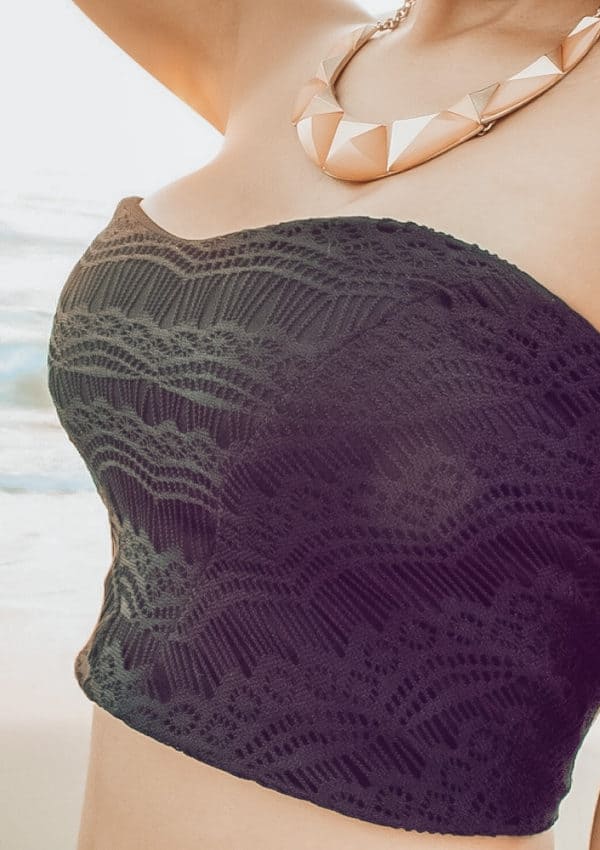
And what about a NO-sew bikini top to match your scrunchies this summer at the beach?  Check out how to make a bikini top without sewing here
(Trust me! No one would believe it wasn't sewn!)
Check out how to make a bikini top without sewing here
(Trust me! No one would believe it wasn't sewn!)
Scrunchie Stash Wrap Up.
These secret pocket scrunchies can be made in less than 30 minutes from any scrap of fabric.
So, you can have matching scrunchies for any outfit you create! (I have even used the extra length of pants to make some.)
But the best part is that now you know how to make scrunchies that will do more than just tying your hair if you need it!
What would you put in your scrunchie pocket? I’d love to read your ideas, so please share them in the comments below.
Keep dreaming and keep creating, in your hands lies the power of turning the invisible into visible! 

P.D. Looking for the best way to organize your scrunchies? You are going to LOVE this DIY scrunchie holder tutorial! It’s so easy and so cheap to make, of course without actually looking cheap.
A true trash to treasure project to store, organize and display your scrunchies!

This post was all about how to make a DIY scrunchie with hidden pocket, for more DIY projects check out the “Handmade Product Ideas” section.
Was this "DIY Scrunchie with hidden pocket" post helpful?
Save this pin to your "DIY Projects" board on Pinterest! 

And thank you (with my WHOLE heart!  ) for sharing with your friends!


This is so cool, thank you for sharing!
I have watched many videos on how to make these and yours is the best. Thank you Janet
Thank you so much Janet! 🥰 So glad it was helpful!!